
Every fresh Windows install starts with the same small tool: a USB drive that knows how to boot a PC. A Windows 11 bootable USB lets you set up a new build, reinstall Windows on a sluggish machine, move your system onto a fresh internal SSD, or open repair tools when Windows won’t start.
The easiest way to make one is Microsoft’s free Media Creation Tool. You need a working Windows PC, an internet connection, and a USB flash drive with at least 8 GB of space. Copy anything you want to keep off the USB first, because the process erases it. This guide walks through the Media Creation Tool, the ISO method, how to boot from the USB, and how to fix the problems that trip people up.
Key Takeaways
- Microsoft’s Media Creation Tool is the simplest official way to make a Windows 11 bootable USB.
- Use a USB drive with at least 8 GB of space, and back it up first because it will be erased.
- Use the ISO method with a tool like Rufus if you already have an ISO or the Media Creation Tool won’t list your drive.
- Check that the target PC meets Windows 11 requirements, including TPM 2.0 and UEFI with Secure Boot.
- To boot from the USB, open the PC’s boot menu and pick the entry labeled UEFI USB.
What You Need to Make a Windows 11 Bootable USB

A few minutes of prep saves you from failed downloads and, worse, wiping the wrong drive. Here’s what to line up before you start.
| What You Need | Why It Matters |
|---|---|
| USB flash drive, 8 GB or larger | It holds the Windows 11 setup files. Everything on it gets erased. |
| A working Windows PC | The Media Creation Tool only runs on Windows. |
| Internet connection | The tool downloads several gigabytes of setup files, so a faster connection means a shorter wait. |
| A compatible target PC | Windows 11 needs a supported processor, TPM 2.0, and UEFI firmware with Secure Boot. Check Microsoft’s Windows 11 system requirements first. |
Windows 11 boots in UEFI mode, which works with drives set up in the GPT partition style. If you’re installing onto a drive that’s been used before, it’s worth reading how MBR and GPT partition styles differ so Setup doesn’t refuse the drive later.
How to Make a Windows 11 Bootable USB With the Media Creation Tool
The Media Creation Tool is Microsoft’s own app for building installation media. It downloads Windows 11 and sets up the USB for you, so there are no settings to get wrong.
1. Download the Media Creation Tool
Go to Microsoft’s official Windows 11 download page. Under Create Windows 11 Installation Media, select Download Now and save the file.
2. Open the Tool and Accept the Terms
Plug in your USB drive, then run the downloaded tool. Windows may ask for permission to make changes, so select Yes. Read and accept the license terms to continue.
3. Choose the Language and Edition
The tool fills in the language and edition based on the PC you’re using, with Use the recommended options for this PC ticked. Keep those settings if they match the computer you’ll install on. If not, untick the box and pick a different language.
4. Select Your USB Flash Drive
Choose USB flash drive, then pick your drive from the list. Check the name and size carefully, because the tool deletes everything on the drive you select. Unplugging other USB storage first makes it much harder to choose the wrong one.
Some USB SSDs identify themselves as external hard drives rather than flash drives, so the Media Creation Tool may not list them. If yours doesn’t appear, use the ISO method below instead.
5. Let the Tool Create the Installer
The tool downloads Windows 11 and copies the setup files to the USB. Keep the drive connected and leave the PC on while it works. When you see the message that your USB flash drive is ready, select Finish and safely eject the drive.
How to Make a Windows 11 Bootable USB From an ISO
Use the ISO method if you already have a Windows 11 ISO, want to keep a copy for later, or need a USB-writing tool that supports more drive types. You’ll download the ISO from Microsoft and write it to the USB with a trusted free tool such as Rufus.
1. Download the Windows 11 ISO
On the same Microsoft download page, find the section for downloading a Windows 11 disk image (ISO). Choose the edition and your language, then save the ISO file to your computer.
2. Set Up Rufus
Download Rufus from its official website and open it. Select your USB drive under Device, then click SELECT and choose your Windows 11 ISO. For a Windows 11 ISO, Rufus normally sets the partition scheme to GPT and the target system to UEFI (non CSM), which is right for most modern PCs.
Using a USB SSD instead of a flash drive? Rufus hides USB hard drives by default. Open Show advanced drive properties and tick List USB Hard Drives to make it appear.
3. Write the ISO and Check the Result
Click START. Rufus may show a list of optional Windows setup tweaks; on a PC that already meets Windows 11 requirements, you can leave them unticked. Confirm the warning that all data on the drive will be destroyed. When the status bar reads READY, close Rufus and safely eject the USB.
How to Boot a PC From the Windows 11 USB
With the installer ready, plug it into the PC where you want Windows 11. Most computers won’t start from USB on their own, so you’ll use the boot menu to pick it.
- Shut down the PC and plug in the bootable USB.
- Turn the PC on and tap its boot menu key right away. The key varies by manufacturer. F12, F11, F9, or Esc are common, but check the PC maker’s instructions for the right one.
- Select the USB drive, usually listed as UEFI USB or with the drive’s brand name.
- When Windows Setup appears, follow the on-screen instructions.
Choosing Install now starts the installation. To open recovery tools instead, select Repair your computer on the first Setup screen. The tools available depend on the PC, and installation media isn’t the same thing as a dedicated recovery drive.
Putting Windows 11 on a brand-new drive? Fit the drive before you boot from the USB, and use this guide to install an internal SSD in a desktop or laptop. If you’d rather keep your current apps and settings than start fresh, you can clone your existing drive instead. Either way, back up important files before you delete or format anything.
Fix Common Windows 11 Bootable USB Problems

Most problems come from a faulty USB drive, an interrupted download, or the PC starting from its usual drive. Try these checks before you rebuild the installer.
| Problem | What to Try |
|---|---|
| The USB drive doesn’t show up in the tool | Reconnect it, try a different USB port (rear ports on desktops are best), and check that File Explorer can see it. If it’s a USB SSD, switch to the ISO method with Rufus. |
| The Media Creation Tool fails or freezes | Check your internet connection, confirm the drive has at least 8 GB, and run the tool again. A different USB drive often fixes repeat failures. |
| The PC won’t boot from the USB | Open the boot menu and pick the UEFI USB option. Make sure USB boot is enabled in the UEFI settings, then recreate the installer if it still fails. |
| Setup says the PC can’t run Windows 11 | Check that TPM 2.0 and Secure Boot are turned on in UEFI, then compare the PC against Microsoft’s current requirements. |
| Setup can’t find a drive to install on | Confirm the drive appears in UEFI, reseat it, and make sure the slot supports that drive type. |
If Setup still can’t see your new drive, work through these fixes for an SSD that isn’t showing up. And if the USB holds files you need, copy them somewhere safe before you format or rebuild it.
Recommended KingSpec Drives for a Fresh Windows 11 Install
A bootable USB is only half the job. The other half is the drive Windows lands on, plus somewhere safe to keep your files while you wipe the old one. These KingSpec drives cover both, and each comes with 3D NAND flash and a 3-year warranty.
Best Drives to Install Windows 11 On
A clean install is the perfect moment to move off an old hard drive or a cramped SSD. Pick the drive that matches the slot in your PC.
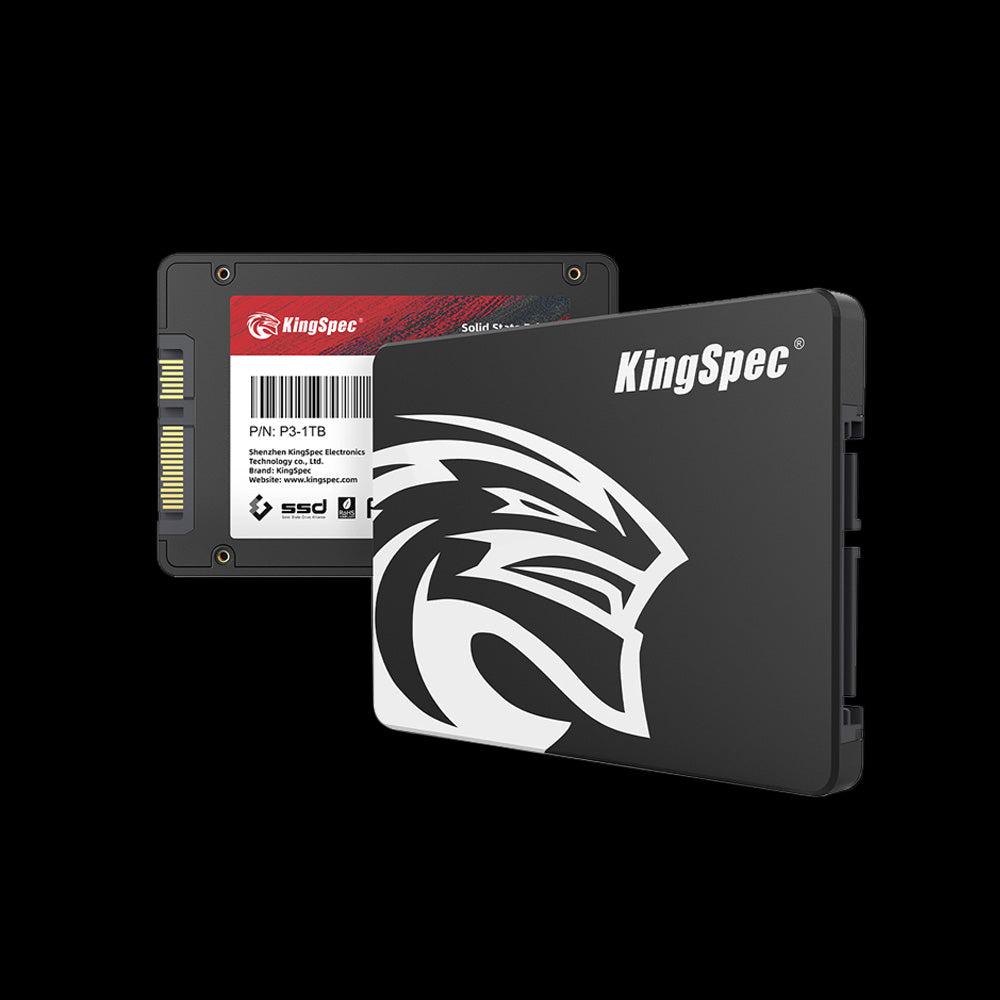
- Interface: SATA III (6Gb/s)
- Read Speed: Up to 560 MB/s
- Write Speed: Up to 530 MB/s
- Form Factor: 2.5 inch
- Capacities: Up to 8TB
- Warranty: 3 Years
Swap out an aging hard drive before you install Windows 11 and the whole PC feels new. It uses the same SATA data and power cables as a hard drive, so it drops into almost any 2.5 inch bay.
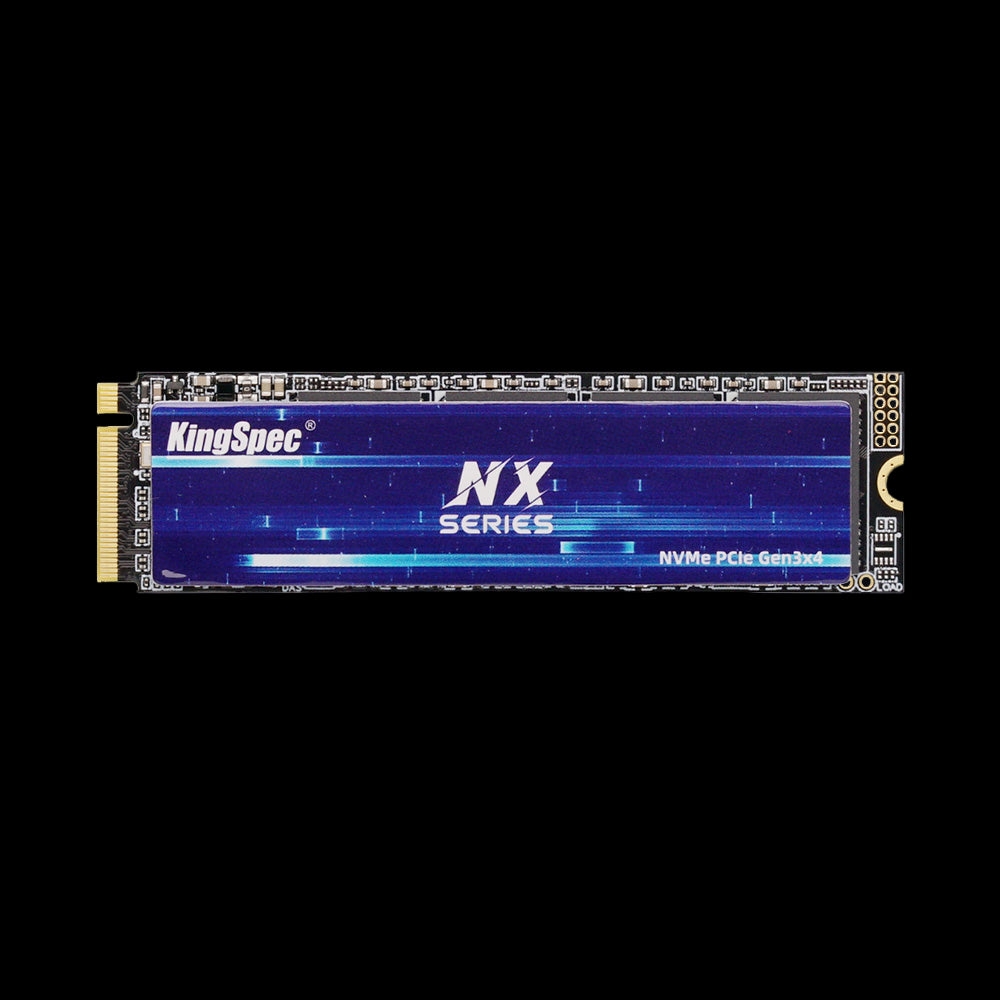
- Interface: PCIe Gen3 x4, NVMe
- Read Speed: Up to 3,500 MB/s
- Write Speed: Up to 3,000 MB/s
- Form Factor: M.2 2280
- Capacities: Up to 2TB
- Warranty: 3 Years
A big step up from SATA for boot times and app launches at an entry-level price. It fits nearly any modern M.2 2280 slot and has a thin graphene heatsink label, which makes it an easy pick for a clean Windows 11 build.
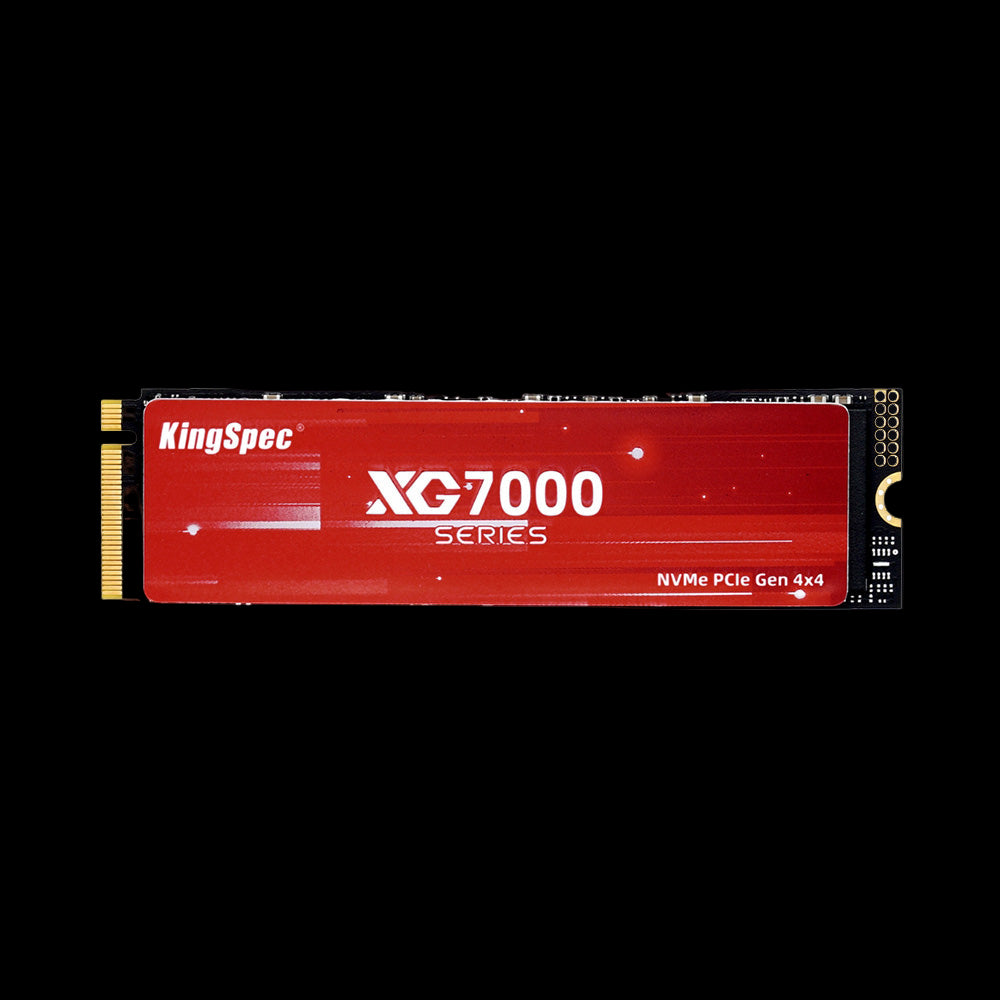
- Interface: PCIe Gen4 x4, NVMe 1.4
- Read Speed: Up to 7,400 MB/s
- Write Speed: Up to 6,600 MB/s
- Form Factor: M.2 2280
- Capacities: Up to 8TB
- Warranty: 3 Years
If your motherboard has a PCIe 4.0 M.2 slot, this is the drive that makes a fresh Windows 11 install feel instant. With room for up to 8TB, your system, apps, and game library can all live on one fast drive.
Best USB Drives for Backups and Portable Installers
Before Setup wipes anything, your documents, photos, and saves need a safe home. A fast USB SSD makes that backup quick, and it can double as a Windows 11 installer through the ISO method.
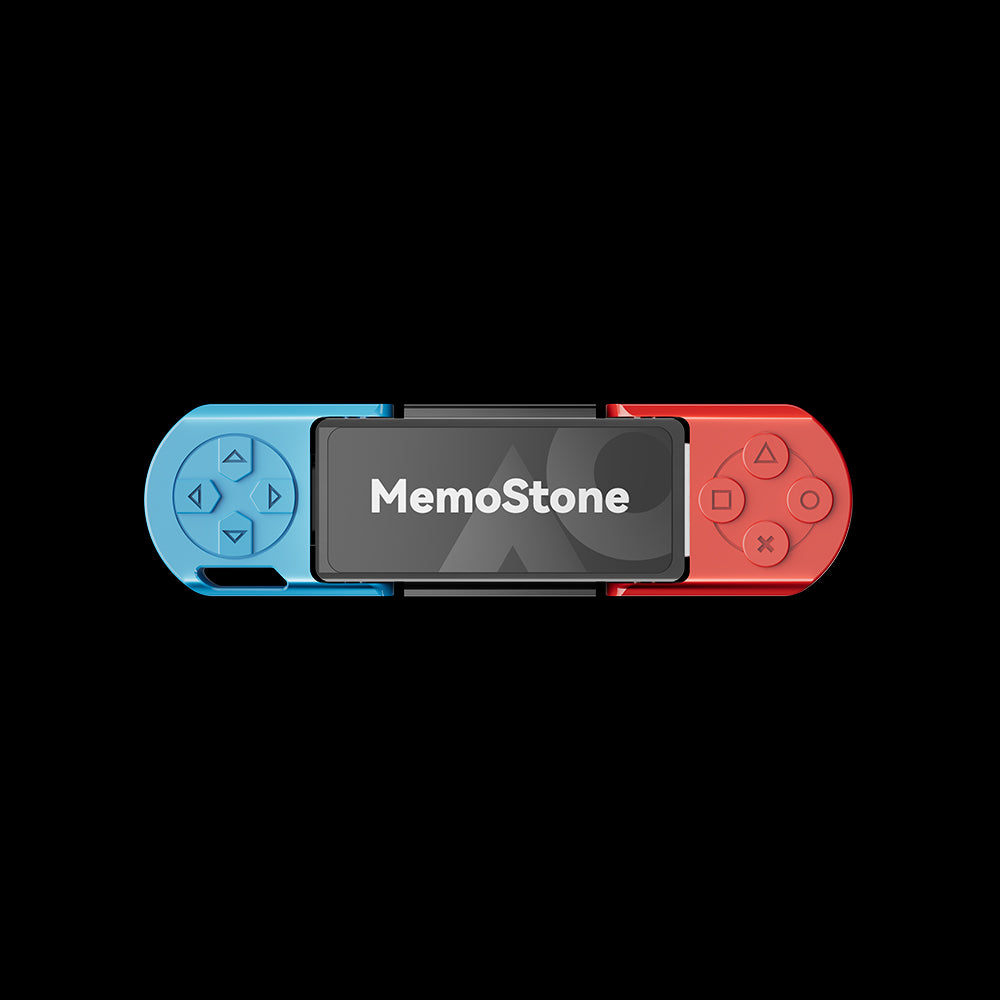
- Interface: USB Type-A and Type-C
- Read Speed: Up to 1,030 MB/s
- Write Speed: Up to 990 MB/s
- Capacities: 256GB to 1TB
- NAND: 3D TLC NAND
- Warranty: 3 Years
Back up your files before a clean install without hunting for an adapter. The built-in Type-A and Type-C plugs work with older desktops and new laptops alike, and the metal shell protects both connectors in a bag.
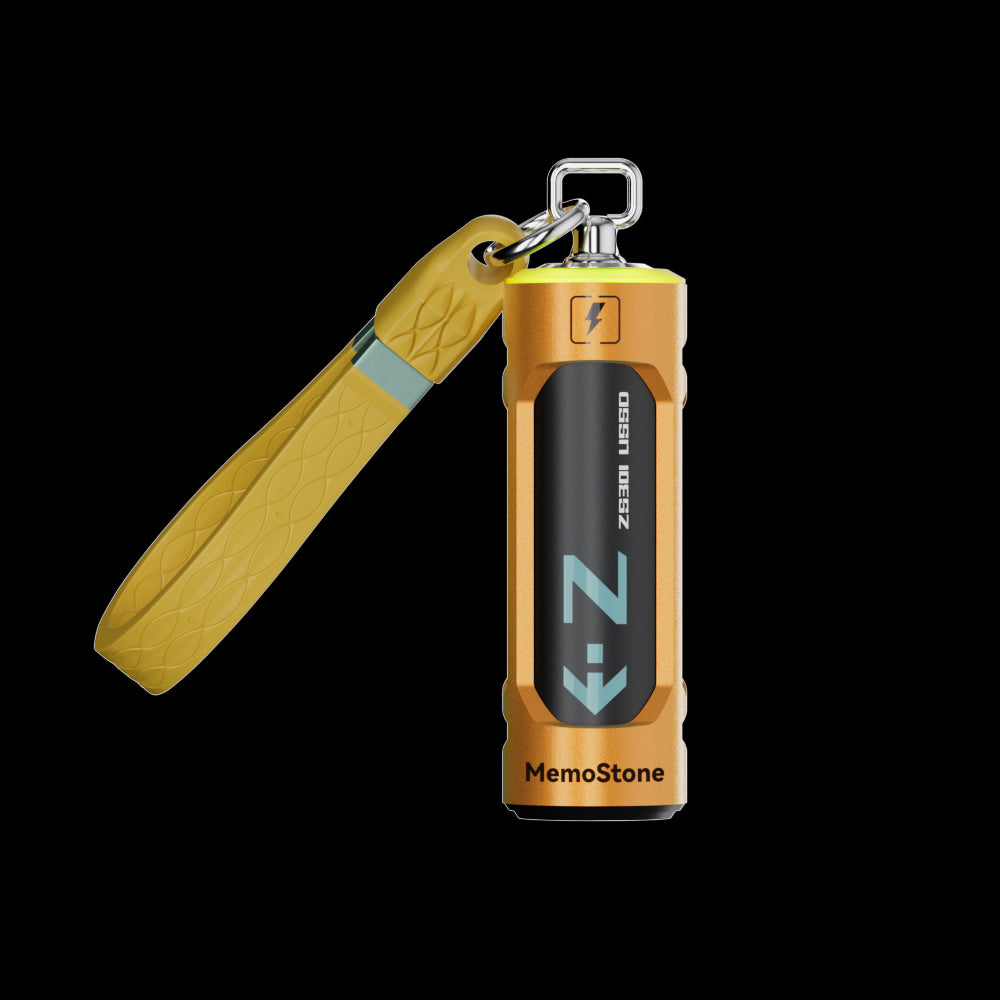
- Interface: USB 3.2 Gen2x2, 20Gbps
- Read Speed: Up to 1,900 MB/s
- Capacities: 256GB to 2TB
- Compatibility: PC, laptop, phone, tablet
- Warranty: 3 Years
Saving a whole user folder before you reinstall? The 20Gbps interface moves large backups quickly on a USB 3.2 Gen2x2 port, and it still works on slower ports at their top speed.
Which KingSpec Drive Should You Choose?
Match the drive to your PC’s slot first. Older laptops and desktops with a 2.5 inch bay get the biggest jump from the P3. Most PCs from the last several years have an M.2 slot, where the NX is the budget pick and the XG7000 makes sense if the slot supports PCIe 4.0.
For backups, the US201 suits everyday files and quick transfers between machines, while the ZS301 is the better choice for large folders and full user backups.
Wrapping Up: Your Windows 11 Installer Is Ready
Making a Windows 11 bootable USB is simple with Microsoft’s Media Creation Tool: use an 8 GB or larger drive, select it carefully, and let the tool finish. If the tool won’t cooperate, the ISO method with Rufus gets you to the same place. Back up the USB first, and confirm the target PC supports Windows 11 before you install.
If this install is part of a bigger upgrade, browse KingSpec’s SSDs, portable drives, and best sellers below to find storage that fits your PC.
Browse Related Collections
Frequently Asked Questions (FAQs):
Is the Windows 11 ISO free?
Yes. Microsoft offers the Windows 11 ISO as a free download, and you can use it to create installation media. You may still need a valid license to activate Windows after you install it.
What size USB drive do I need for Windows 11?
Use a USB drive with at least 8 GB of space. A larger drive works fine too, but anything already stored on it will be erased when you create the installer.
Can I use an external SSD as a Windows 11 bootable USB?
Often, yes. The Media Creation Tool may not list USB SSDs that identify as external hard drives, but Rufus can write a Windows 11 ISO to them once you turn on the option to list USB hard drives. The drive is erased in the process, so back it up first.
Is NTFS or FAT32 better for a bootable USB?
If you use Microsoft’s Media Creation Tool, you don’t need to choose a file system yourself. If you create the USB from an ISO with another tool, stick with its recommended settings for the target PC, since the right choice depends on the PC’s boot method and how the tool handles large setup files.
Can I use the bootable USB to repair Windows?
Yes. Boot from the USB and select Repair your computer on the Windows Setup screen to reach recovery tools. What’s available depends on the PC and its Windows installation, so try the repair options before reinstalling if you want to keep your files.
How long does it take to make a Windows 11 bootable USB?
It mostly depends on your internet speed and how fast your USB drive writes data. The setup files run to several gigabytes, so a fast connection and a quick USB drive shorten the wait noticeably.

