Learning how to install an SSD in a PC is one of the most impactful hardware upgrades you can make, and it is easier than most people expect. Whether you are replacing a slow hard drive, adding a second drive for more storage, or upgrading an existing SSD, the process takes under 30 minutes with basic tools. Boot times drop to seconds, apps open instantly, and the whole system feels like a different machine.

This guide covers the full process for both desktop PCs and laptops: what tools you need, how to choose the right SSD form factor, the step-by-step installation for SATA and M.2 drives, and what to do after the drive is in. Beginners and experienced builders alike will find everything they need here to complete the upgrade confidently.
What You Need to Know Before Starting
- Check your PC or laptop manual to confirm which SSD form factor it supports: 2.5" SATA, M.2 2280, or M.2 2242
- M.2 slots may support NVMe, SATA, or both. Always verify before buying.
- Back up your data before opening any device or removing a drive
- You need only a Phillips screwdriver and a precision screwdriver for M.2 drives
- Ground yourself by touching bare metal on the case before handling any component
- Desktop installs take 15 to 20 minutes; laptop installs take 20 to 30 minutes
Choosing the Right SSD Before You Install
The most important step happens before opening your PC. Installing the wrong type or size of SSD is a frustrating and avoidable mistake. There are three main form factors to understand:
| SSD Type | Physical Size | Interface | Best For |
|---|---|---|---|
| 2.5" SATA SSD | Standard 2.5 inch drive | SATA III | Desktops and laptops with a drive bay |
| M.2 2280 NVMe | 80mm stick, standard size | PCIe Gen3/4/5 | Modern desktops and gaming laptops |
| M.2 2242 NVMe | 42mm compact stick | PCIe Gen3 | Thin ultrabooks and compact laptops |
| M.2 2230 NVMe | 30mm ultra-compact stick | PCIe Gen3/4 | Steam Deck, Surface tablets, mini PCs |
Check your motherboard manual for desktop builds, or your laptop's spec page for the supported M.2 form factor and protocol. Some M.2 slots only support SATA, some only NVMe, and some support both. Using an NVMe drive in a SATA-only M.2 slot, or a 2280 drive in a slot that only fits 2242, will result in no detection. For a full breakdown of M.2 size differences, see: M.2 Form Factors Explained: Which Size Do You Need?
Tools and Preparation
What You Need
- Phillips head screwdriver (most case panels and drive brackets)
- Precision screwdriver set (M.2 mounting screw is very small)
- Flashlight or headlamp for working inside dark cases
- Anti-static wrist strap, or touch bare metal on the case before handling components
- Cable ties or velcro strips for cable management (desktop SATA builds)
- Magnetic parts tray to avoid losing tiny screws
Back Up Before You Begin
Back up any data you cannot afford to lose before opening your PC or laptop. Use Windows Backup, an external drive, or cloud storage. If you are replacing your main OS drive, create a full system image so you can restore everything afterward. Test that the backup opens correctly before proceeding, a backup you cannot read is not a backup. Also keep any external drives unplugged during the installation to avoid accidentally formatting the wrong disk.
Which KingSpec SSD Should You Install?
KingSpec covers every PC and laptop slot type with purpose-built drives. Browse all options across SATA and NVMe in the internal SSD collection, or find the right match for your specific build below.
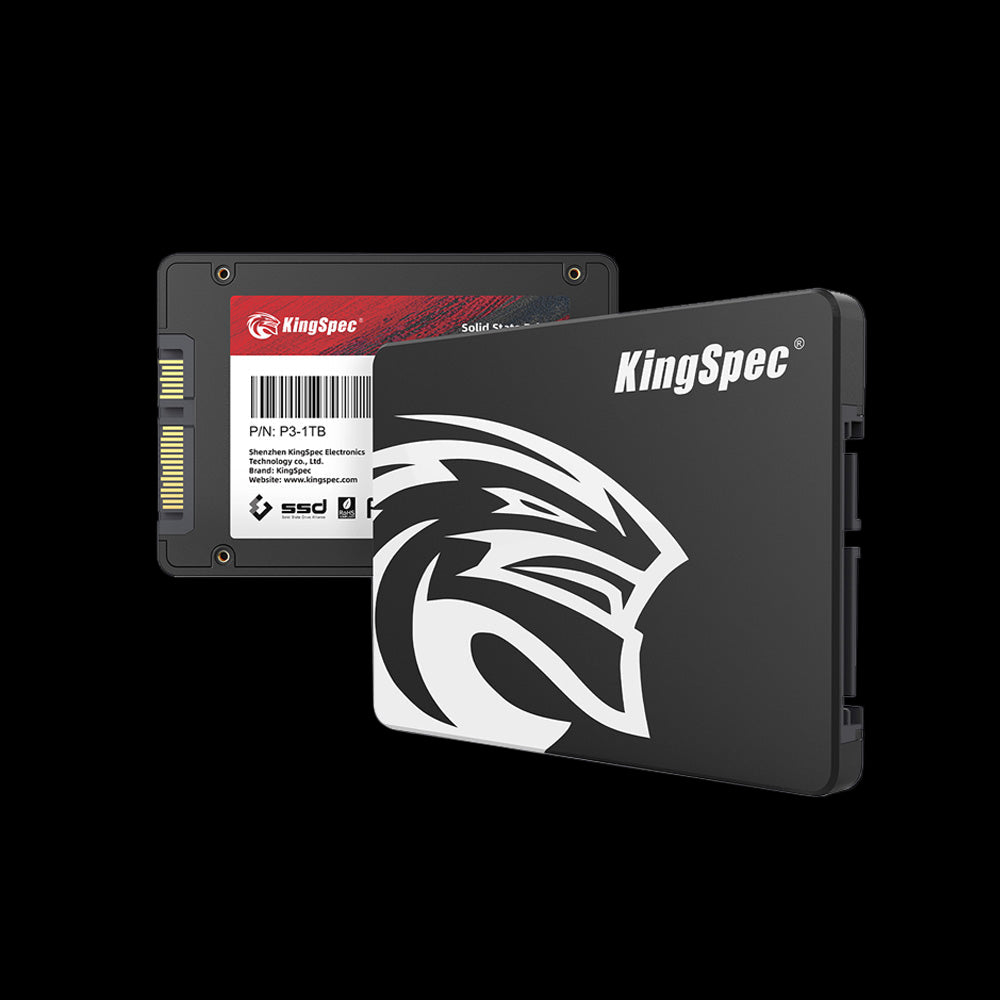
- Interface: SATA III (6 Gb/s)
- Read: Up to 560 MB/s
- Write: Up to 530 MB/s
- Form Factor: 2.5 inch standard
- Capacities: 256GB, 512GB, 1TB, 2TB, up to 8TB
- Install Type: SATA data + power cable
- Warranty: 3 Years
Plug-and-play replacement for any 2.5" drive bay in a desktop or laptop. Uses the same SATA data and power cables as a traditional hard drive, so installation is completely straightforward. The most affordable and universally compatible internal SSD upgrade for older systems.

- Interface: PCIe Gen4 x4, NVMe 1.4
- Read: Up to 7,400 MB/s
- Write: Up to 6,600 MB/s
- Form Factor: M.2 2280 (standard)
- Capacities: 512GB, 1TB, 2TB, 4TB, 8TB
- Cooling: Ultra-thin graphene heatsink label
- Warranty: 3 Years
The flagship Gen4 desktop drive. Slides into any PCIe 4.0 M.2 2280 slot and delivers up to 7,400 MB/s. No cables needed, the drive plugs directly into the motherboard and is secured with one small screw. Available up to 8TB for users who want everything on a single high-speed drive.

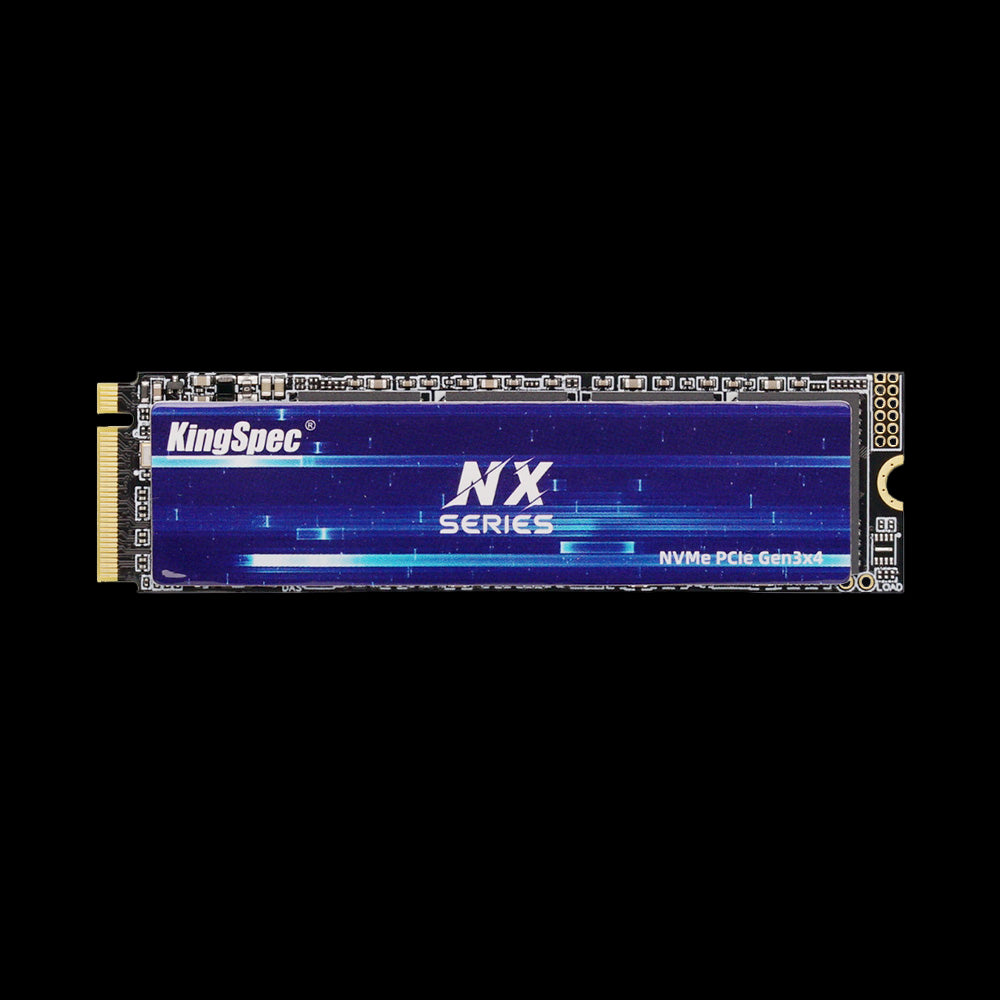
- Interface: PCIe Gen4 x4, NVMe
- Read: Up to 5,100 MB/s
- Write: Up to 4,600 MB/s
- Form Factor: M.2 2280
- Capacities: 512GB, 1TB, 2TB
- Cooling: Ultra-thin graphene heatsink label
- Compatibility: PS5, gaming laptops, desktops
- Warranty: 3 Years
Single-sided chip design makes it ideal for laptops where thickness matters. Graphene heatsink label keeps temperatures stable in confined spaces. Fully PS5-compatible for console storage expansion. Installs in one step: slot in at an angle, press flat, and secure with the standoff screw.
- Interface: PCIe Gen3 x4, NVMe
- Read: Up to 3,500 MB/s
- Write: Up to 3,000 MB/s
- Form Factor: M.2 2280
- Capacities: 256GB, 512GB, 1TB, 2TB
- Cooling: Ultra-thin graphene heatsink label
- Warranty: 3 Years
The most affordable M.2 NVMe 2280 drive in the KingSpec lineup. Compatible with virtually every modern motherboard and laptop with an M.2 Gen3 or Gen4 slot. Installs in the same single-step process as any M.2 drive and delivers Gen3 speeds that far exceed any SATA SSD.
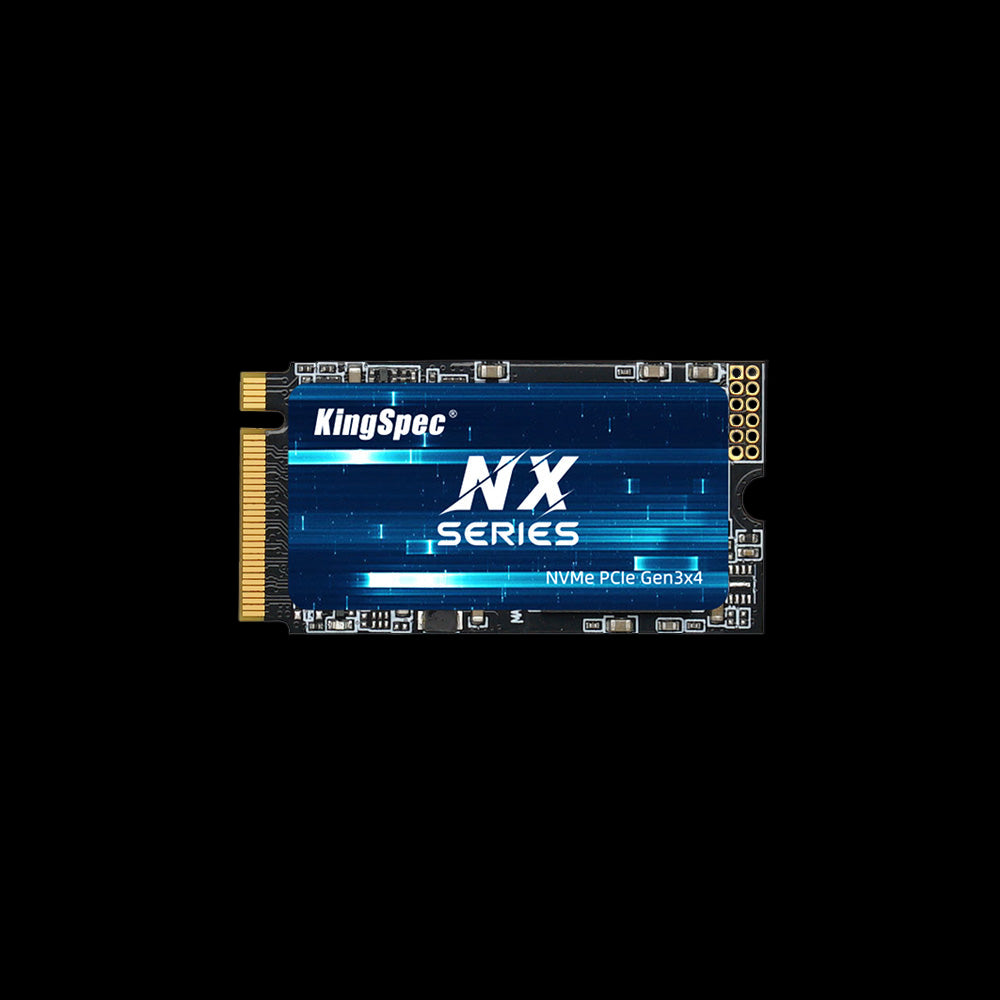
- Interface: PCIe Gen3 x4, NVMe
- Read: Up to 3,500 MB/s
- Write: Up to 2,500 MB/s
- Form Factor: M.2 2242 (42mm compact)
- Capacities: 256GB, 512GB, 1TB
- Design: Compact, power-efficient
- Warranty: 3 Years
For thin laptops and ultrabooks that only fit the shorter 2242 M.2 form factor. Full Gen3 x4 NVMe speed in a 42mm body. The install process is identical to 2280: angle in, press flat, secure with the standoff screw at the 42mm position on the motherboard.
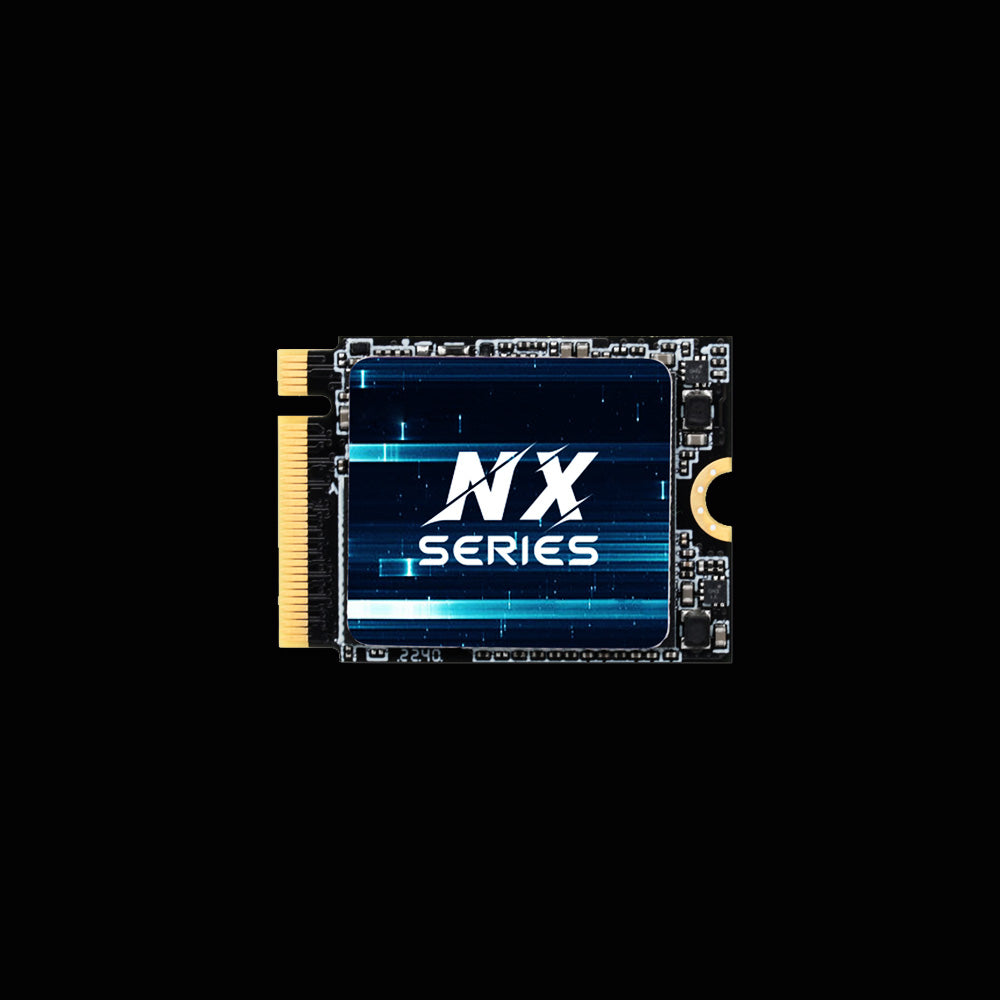
- Interface: PCIe Gen3 x2, NVMe
- Form Factor: M.2 2242 (42mm)
- Capacities: 256GB, 512GB, 1TB
- NAND: 3D NAND, optimized firmware
- Power: Low draw, battery-friendly
- Compatibility: Wide thin laptop support
- Warranty: 3 Years
A lower-power compact NVMe option for laptops where battery efficiency is a priority alongside speed. Optimized firmware balances reliability and performance across everyday workloads. Installs in the same way as any 2242 M.2 drive with no cables required.
How to Install an SSD in a Desktop PC

Step 1: Open the Case
Shut down your PC and unplug it from the wall. Press the power button once to discharge any remaining electricity in the system. Move the PC to a flat, well-lit workspace. Remove the left side panel (when facing the front of the case) by unscrewing the thumbscrews or regular screws at the rear. Slide the panel off and set it aside. Touch a bare metal surface on the case interior to ground yourself before touching any components.
Step 2: Locate the Drive Slot
Identify where your SSD will go. For a 2.5" SATA drive, look for a drive cage or mounting bracket, usually in the lower front area of the case. For an M.2 SSD, find the M.2 slot on the motherboard. It is a small rectangular connector, typically near the CPU or between PCIe slots. Your motherboard manual shows the exact location and labels which slots support which protocols. Some M.2 slots are covered by a heatsink, remove it if present before installing.
How to Install a SATA SSD in a Desktop
- Slide the 2.5" SATA SSD into a free drive bracket or cage and secure it with four screws (or snap it in if your case has a tool-free mount)
- Connect one end of a SATA data cable to the SSD and the other to a SATA port on your motherboard, preferably a SATA 6Gbps port
- Connect a SATA power cable from your power supply unit to the SSD power port
- Both connectors are keyed and only insert one way; do not force them
- Route the cables along the case's cable channels and use ties to keep them clear of fans and airflow paths
- Replace the side panel, reconnect power, and boot up
How to Install an M.2 NVMe SSD in a Desktop
- Remove the tiny mounting screw from the standoff at the far end of the M.2 slot (it is usually pre-installed in the motherboard)
- Hold the M.2 SSD by the edges and align the notch on the connector end with the key in the M.2 slot
- Insert the drive at roughly a 30-degree angle and slide it in firmly but gently until fully seated
- Press the far end of the drive flat down toward the motherboard
- Replace the mounting screw, snug is enough; do not overtighten
- If your motherboard includes an M.2 heatsink, reattach it over the drive
- Replace the side panel and power on
After powering on, if the SSD does not appear in your operating system, it may need to be initialized and formatted. Open Disk Management in Windows (press Win + X and select Disk Management), find the new drive listed as unallocated, right-click it, select Initialize Disk with GPT, then create a new simple volume and format it as NTFS. For troubleshooting a drive that does not appear at all, see: SSD Not Showing Up? Here's How to Fix It.
How to Install an SSD in a Laptop

Step 1: Prepare the Laptop
Power off the laptop completely and unplug it from the charger. If the battery is removable, take it out. Hold the power button for five seconds to drain any remaining charge from the capacitors. Work on a flat, static-free surface. Use a small Phillips screwdriver to remove the bottom panel screws. Keep them in a tray or cup as they are easy to lose. Once the panel is off, locate the SSD slot. Consult your laptop's manual or search your model number to identify the drive bay position and which form factor it accepts.
Step 2: Remove the Old Drive (If Replacing)
Before removing the existing drive, note how it is oriented and how it connects. Take a photo if you want a reference. Unscrew the retaining screw holding the SSD in place. Carefully lift the drive up at a slight angle from the seated end and slide it out of the connector. Do not pull it straight out, the connector runs at an angle. Set the old drive aside on a safe surface.
How to Install an M.2 SSD in a Laptop
- Hold the new SSD by its edges, avoid touching the contacts on the connector end
- Align the notch on the SSD connector with the key in the M.2 slot
- Insert the drive at the same angle the old drive came out (usually 20 to 30 degrees), sliding it into the connector until fully seated
- Press the far end of the drive down flat so it lies flush against the motherboard
- Replace the retaining screw firmly but gently
- Reattach the bottom panel, replace all screws, and reconnect the battery and charger
How to Install a 2.5" SATA SSD in a Laptop
- Locate the 2.5" drive bay (some laptops keep this behind an access panel rather than requiring the full bottom cover removal)
- If a caddy or bracket holds the old drive, transfer it to the new SSD using the same screws
- Slide the SSD into the SATA connector at the end of the bay and seat it firmly
- Replace the bracket screws if applicable, close the panel, and reconnect the battery
Step 3: Verify the Install in BIOS
Power on the laptop and press the BIOS key (usually F2, Del, or Esc during startup) to enter the BIOS or UEFI. Navigate to the storage section. If the new SSD appears in the list with its correct capacity, the hardware installation is complete. Exit the BIOS and proceed to formatting or OS installation. If the drive does not appear, re-seat it and check that the connector is fully engaged.
After Installation: Formatting and Setting Up Your SSD
A brand-new SSD is not automatically ready for use in Windows. It needs to be initialized and formatted before your OS can write data to it.
- Press Win + X and select Disk Management
- Find the new SSD listed as a disk with unallocated space
- Right-click the disk and select Initialize Disk, then choose GPT partition style
- Right-click the unallocated space and select New Simple Volume
- Follow the wizard to assign a drive letter, set the volume size, and format as NTFS
- The drive will appear in File Explorer ready for use
If you are replacing your OS drive rather than adding a second one, install Windows from a USB drive created with the Microsoft Media Creation Tool, or clone the old drive first using free software like Macrium Reflect. For a complete guide on formatting the drive after installation, see: How to Format SSD: Step-by-Step Guide for Windows and Mac.
SSD Installation: Common Mistakes to Avoid
- Buying the wrong form factor. A 2280 drive will not physically fit in a laptop that only accepts 2242. Always confirm the supported size before purchasing.
- Ignoring protocol compatibility. Some M.2 slots only support SATA, not NVMe. Installing an NVMe drive in a SATA-only slot results in zero detection, not just slower speeds.
- Skipping the backup. Hardware steps are reversible; data loss is not. Back up before touching anything.
- Overtightening the M.2 mounting screw. The screw only needs to be snug. Overtightening can crack the PCB edge of the SSD.
- Not grounding yourself. Static discharge can damage components. Touch bare metal on the case before handling any drive.
- Forgetting to check BIOS after install. Always confirm the drive appears in BIOS before assuming the installation succeeded.
Conclusion
Installing an SSD in a PC or laptop is a beginner-friendly upgrade that delivers an immediate and dramatic speed improvement. The key steps are: confirm your form factor, back up your data, install with care, verify in BIOS, and format if adding a new drive. KingSpec's full range of PCIe NVMe SSDs covers every slot type from compact 2242 to high-capacity 2280, all with a 3-year warranty and 3D NAND reliability.
Browse Related Collections
Frequently Asked Questions
How do I install an SSD in my PC?
For a desktop: shut down and unplug, open the side panel, locate the drive slot (2.5" bay for SATA or M.2 slot on the motherboard for NVMe), insert the drive, connect cables for SATA or secure the screw for M.2, close the case and boot. For a laptop: power off, remove the battery if possible, unscrew the bottom panel, locate the drive bay, slide out the old drive, insert the new SSD at the same angle, secure the retaining screw, and close up. Always verify in BIOS that the drive is detected before setting up the OS or formatting.
Do I need to format a new SSD after installing it?
Yes, if you are adding it as a second drive. Open Disk Management in Windows, find the unallocated drive, initialize it as GPT, then create a new simple volume and format it as NTFS. If you are installing it as your primary OS drive, you will install Windows from a USB installer, which handles formatting automatically. You do not need to separately format a drive that you are cloning an existing OS to, the cloning software manages that process.
How do I know which SSD form factor fits my PC or laptop?
Check your motherboard manual for desktops, it lists all M.2 slot sizes and supported protocols (SATA, NVMe, or both). For laptops, search your exact model number plus "SSD upgrade compatibility" or check the manufacturer's support page. The key details to find: 2.5" SATA bay, M.2 2280, or M.2 2242. Some M.2 slots support both NVMe and SATA, while others only support one. Installing an NVMe drive in a SATA-only slot will result in the drive not being detected at all.
Can I install an SSD without reinstalling Windows?
Yes, by cloning your existing drive. Use free software like Macrium Reflect to create an exact copy of your current OS drive onto the new SSD before removing the old one. After cloning, swap the drives, and Windows will boot from the new SSD with everything intact. If the new drive is larger, you may need to extend the partition afterward using Disk Management. This is the most convenient way to upgrade without losing your settings, programs, or files.
My new SSD is not showing up after installation. What should I do?
First, enter BIOS and check whether the drive appears in the storage device list. If it does not appear in BIOS, the drive is likely not seated correctly, reseat it, making sure the connector is fully engaged and the mounting screw is in place. For M.2 drives, check that the slot supports the protocol your drive uses (NVMe vs SATA). If it appears in BIOS but not in Windows, open Disk Management and initialize and format the drive. A new drive always requires initialization before Windows shows it in File Explorer.
How long does it take to install an SSD?
The hardware installation itself takes 15 to 20 minutes for a desktop and 20 to 30 minutes for a laptop. If you are cloning your old OS to the new drive, allow 30 to 90 minutes depending on how much data is on the old drive and how fast both drives are. A fresh OS install from USB takes another 15 to 30 minutes after the hardware step. Total time from start to a fully working system with your data is typically 1 to 2 hours on first attempt.

